Hack your calculator @ Ciências Complete
As of late march 2023, still at FCUL as student and investigator, I was asked if I had any activity ideas for FCUL’s Open Day. What is Open Day? It’s a day where the faculty has activities and presentations for interested high-school students. It serves as a way to grow interest in what we do and to, in some way, recruit future students.
The question I put up in my head is “What would be more interesting for high-schoolers?”. My target theme was plain Programming. How do I make programming interesting for non-programmers? The best way, in my view, is to make something practical and close to them. Something sparked in my head: their graphical calculator!
Before I wanted to be a programmer, I was in love with physics and was ready to pursue it in university. However, work opportunities were not the brightest in Portugal, and at the time a friend of mine challenged me to try programming. At first it was interesting, I called it my “Lego sandbox”, but then I discovered that our calculators could be programmed by us.
TI-BASIC was my first true love in programming. I would spend hours programming tools to use in class and games to pass time. The ability to create something real with a direct effect was exhilarating. Because of this, I went on to learn a bit of Java and then decide to study Informatics Engineering in university.

Back on topic. Why not try to set these visiting students on the same path as me? So the plan is clear now, create a tutorial on how to program some simple games in a TI-84 (they’re overall more interesting than solving the quadratic formula). For simplicity, the best was to create a website for easy access across lab computers and for future reference if any student wanted to explore more after the activity.
Programming with a TI-84
For most, the first interaction with programming a TI calculator is through the calculator itself. It has a basic editor and several menus of functions and operators to program with. But, as one would expect, a calculator with a handful of characters in width and height is not the most practical to use. A natural upgrade is to use a text editor on a pc as it avoids the awkwardness of a calculator’s menus and ‘keyboard’ (if we can even call it that). However, the lack of tools (such as the function and operator menus) when writing programs ends up delaying the development cycle because it requires more testing iterations to detect and fix bugs.
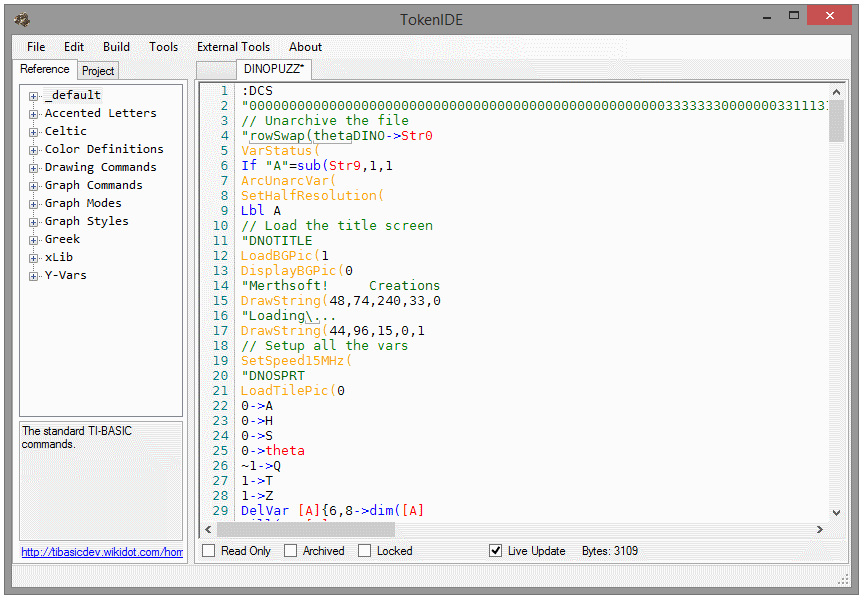
Fear not, for we TI developers are saved from such problems! At least most of them. There are a myriad of IDEs for every case and the TI calculators is no exception. Tokens IDE is perfect for the use case and it speeds development significantly. It helps with the TI-BASIC syntax with autocomplete and overall checking for syntax errors as we write programs. Most importantly it compiles directly to a calculator-ready program.
TI-BASIC is (at least for me) a very good language to start. It is very basic (as it name says) while still having all core elements of mainstream programming languages. But we’ll explore it a bit more later on.
Similarly to how I personally did it many years ago, the entire idea was guided by this amazing tutorial, to which I owe my software engineering path to.
Tokens IDE
Dear seasoned programmers: yes VSCode is also useful, but Tokens IDE is ready out-of-the-box. Although Visual Studio Code can be setup for TI-BASIC programming, it takes some time and attention that most high-schoolers don’t have (yet).
(Tokens IDE)tokens-ide is by far the most simple to both setup and use. It combines editing with error highlighting and compilation.

The best feature of Tokens IDE is by far the ability to compile directly to a file that can be loaded to
TI-BASIC
The bread and butter of all this experience is the TI-BASIC programming language. Although it was created for calculators, it has a wide variety of primitives that resemble any mainstream language. For those who know BASIC, yes, it’s similar.
Variables and Conditionals
In TI-BASIC we can store values in variables with an →, for example 5→A or A*2→B. We
have if-statements from a short if, to a full if-then-else:
:If (condition)
:(statement)

:If (condition)
:Then
:(statement1)
...
:(statementx)
:End

:If (condition)
:Then
:(condition is true)
:Else
:(condition is false)
:End
Notice TI-BASIC uses End as a terminator for these sections of code. Although these conditionals
are more than enough to do anything, TI-BASIC is missing an ElseIf statement. Any need to
chain more than two scenarios require chained If statements.
Loops
There are also three types of loop statements: While, Repeat and the classic For. While and
Repeat are very similar, the first repeats a set of instructions while the condition is true
and the second repeats until the condition is true.
:While (condition)
:
    ...
:
:End

:Repeat (condition)
:
    ...
:
:End
For loops take a variable, a start value, an end value and optionally a step value (by default
is set to 1). The loop iterates from the start value incrementing by the step until it reaches
the end value (inclusive).
:For(variable,start,end,step
:
    ...
:
:End
For those with a keen eye, indeed there is a ) missing in the For, but, similarly to HTML,
TI-BASIC is smart enough for it to be optional. More often than not, we avoid writing any
of these non-essential characters to save memory space, but more on that later.
Labels and Menus
Seasoned programmers, look away! TI-BASIC has the dreaded Lbl and Goto combo. However, it is
quite useful for a single reason: menus. The Lbl command is used to mark a line in code with
an identifier (Lbl 123 for example) to which we can then go to using a Goto command
(Goto 123 for the previous example).
Menus in TI-BASIC are very useful when we’re building a toolbox application, where every tool is contained within its own label. To select which tool to use, we simply provide a menu of options where each option goes to its respective label.
:Menu("SAMPLE MENU","OPTION 1",1,"OPTION 2",2
:Lbl 1
    ...
:Stop
:Lbl 2
     ...
The Lbl command marks the start of our ‘section’, but we need to mark its end or else it will
overflow to the next Lbl and therefor, to the next tool. To stop execution before it reaches
other tool, we use Stop. If instead of exiting the program altogether you rather want to go
somewhere else, just use a Lbl and Goto!
Just keep in mind to not overuse labels as it is much slower and may lead to memory leaks.
Input and Output
For user interaction, there are also the Input and Disp for input and output respectively.
Input may be used to display some text (optionally) and store input in a variable. For example,
Input "FIRST?",A will display the text FIRST? and then allow the user to input a value to
store in variable A. Disp will output to the screen either text or some variable. To display
the text VALUE: followed by the value of variable A we write Disp "VALUE:",A.
Optimization
It’s easy to start thinking of abstractions, try to design some huge program or to get lost daydreaming the intricacies of the language, but let me pull you back to reality: it’s a calculator. What I mean by this is: look at TI-BASIC not as Java, but as Assembly+.
Every character counts for the total space a program uses, and after some dozens of lines
of code, saving ) whenever possible will be noticeable. Refactoring code to be as
efficient as possible is essential when programs grow big. There are a lot of small
optimizations one can do and TI-Basic Developer does a great job
explaining it.
The one detail I would like to draw attention to is how to wait some time. Most languages have
some wait or sleep function to wait a given amount of time, but TI-BASIC does not. What
is done instead is take advantage of the calculator’s slowness. It might not be accurate,
however, putting the calculator in an empty For loop counting up to 1000 is enough to
make it apparently sleep, or in better terms, to make a delay.
TI Connect
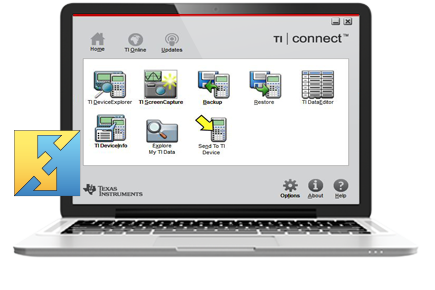
TI Connect is Texas Instruments’ tool to link with a calculator. It’s main features are screen capture and file/program management. We use this to load our freshly compiled programs into the calculator to then test/use. There are other tools that do this but we always prefer the official one whenever possible.

Wabbitemu Emulator
At some point, the development cycle becomes tiresome. Having to constantly transfer programs to a calculator to test them takes that immediate gratification of quick development, makes it feels that the goal is still a hundred fixes, compiles, transfers and tests away.
A quick and easy solution for this inconvenience is to bring your calculator into the computer itself. No need to transfer via TI-Connect, it is now a simple drag-and-drop to load a program into a virtual calculator.
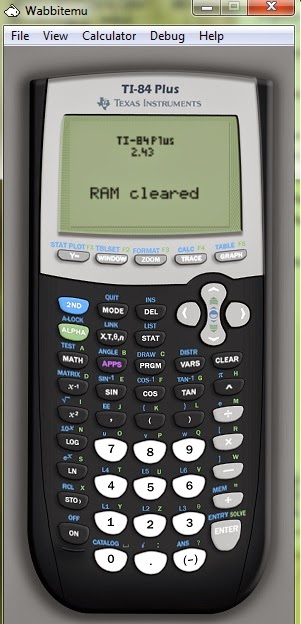
Wabbitemu is one such emulator. It’s a calculator on a window where your mouse pointer is your finger (but you can also use keybindings for shortcuts). The only thing to note is: you are required to load your own ROM image. In other words, you must own a calculator, extract its ROM and load it to use Wabbitemu. Acquiring a ROM through other sources is illegal, so be careful with that.

For those who wish to explore more, you can also use it to debug programs at deeper levels (cpu registries, stack viewer, breakpoints).
Building a small website with Jekyll and GitHub Pages
At this point, I already have everything needed to give a cool and interesting experience for students (I hope), but I still need a medium. Well, powerpoint presentation is out of question – its a complete hell for coding – and it would be a complete waste to give a paper tutorial. If we already have students using computers to code, we’ll give them a digital way of following the tutorial. Furthermore, instead of a PDF file we opted to build a simple website for students to visit even after they leave Open Day.
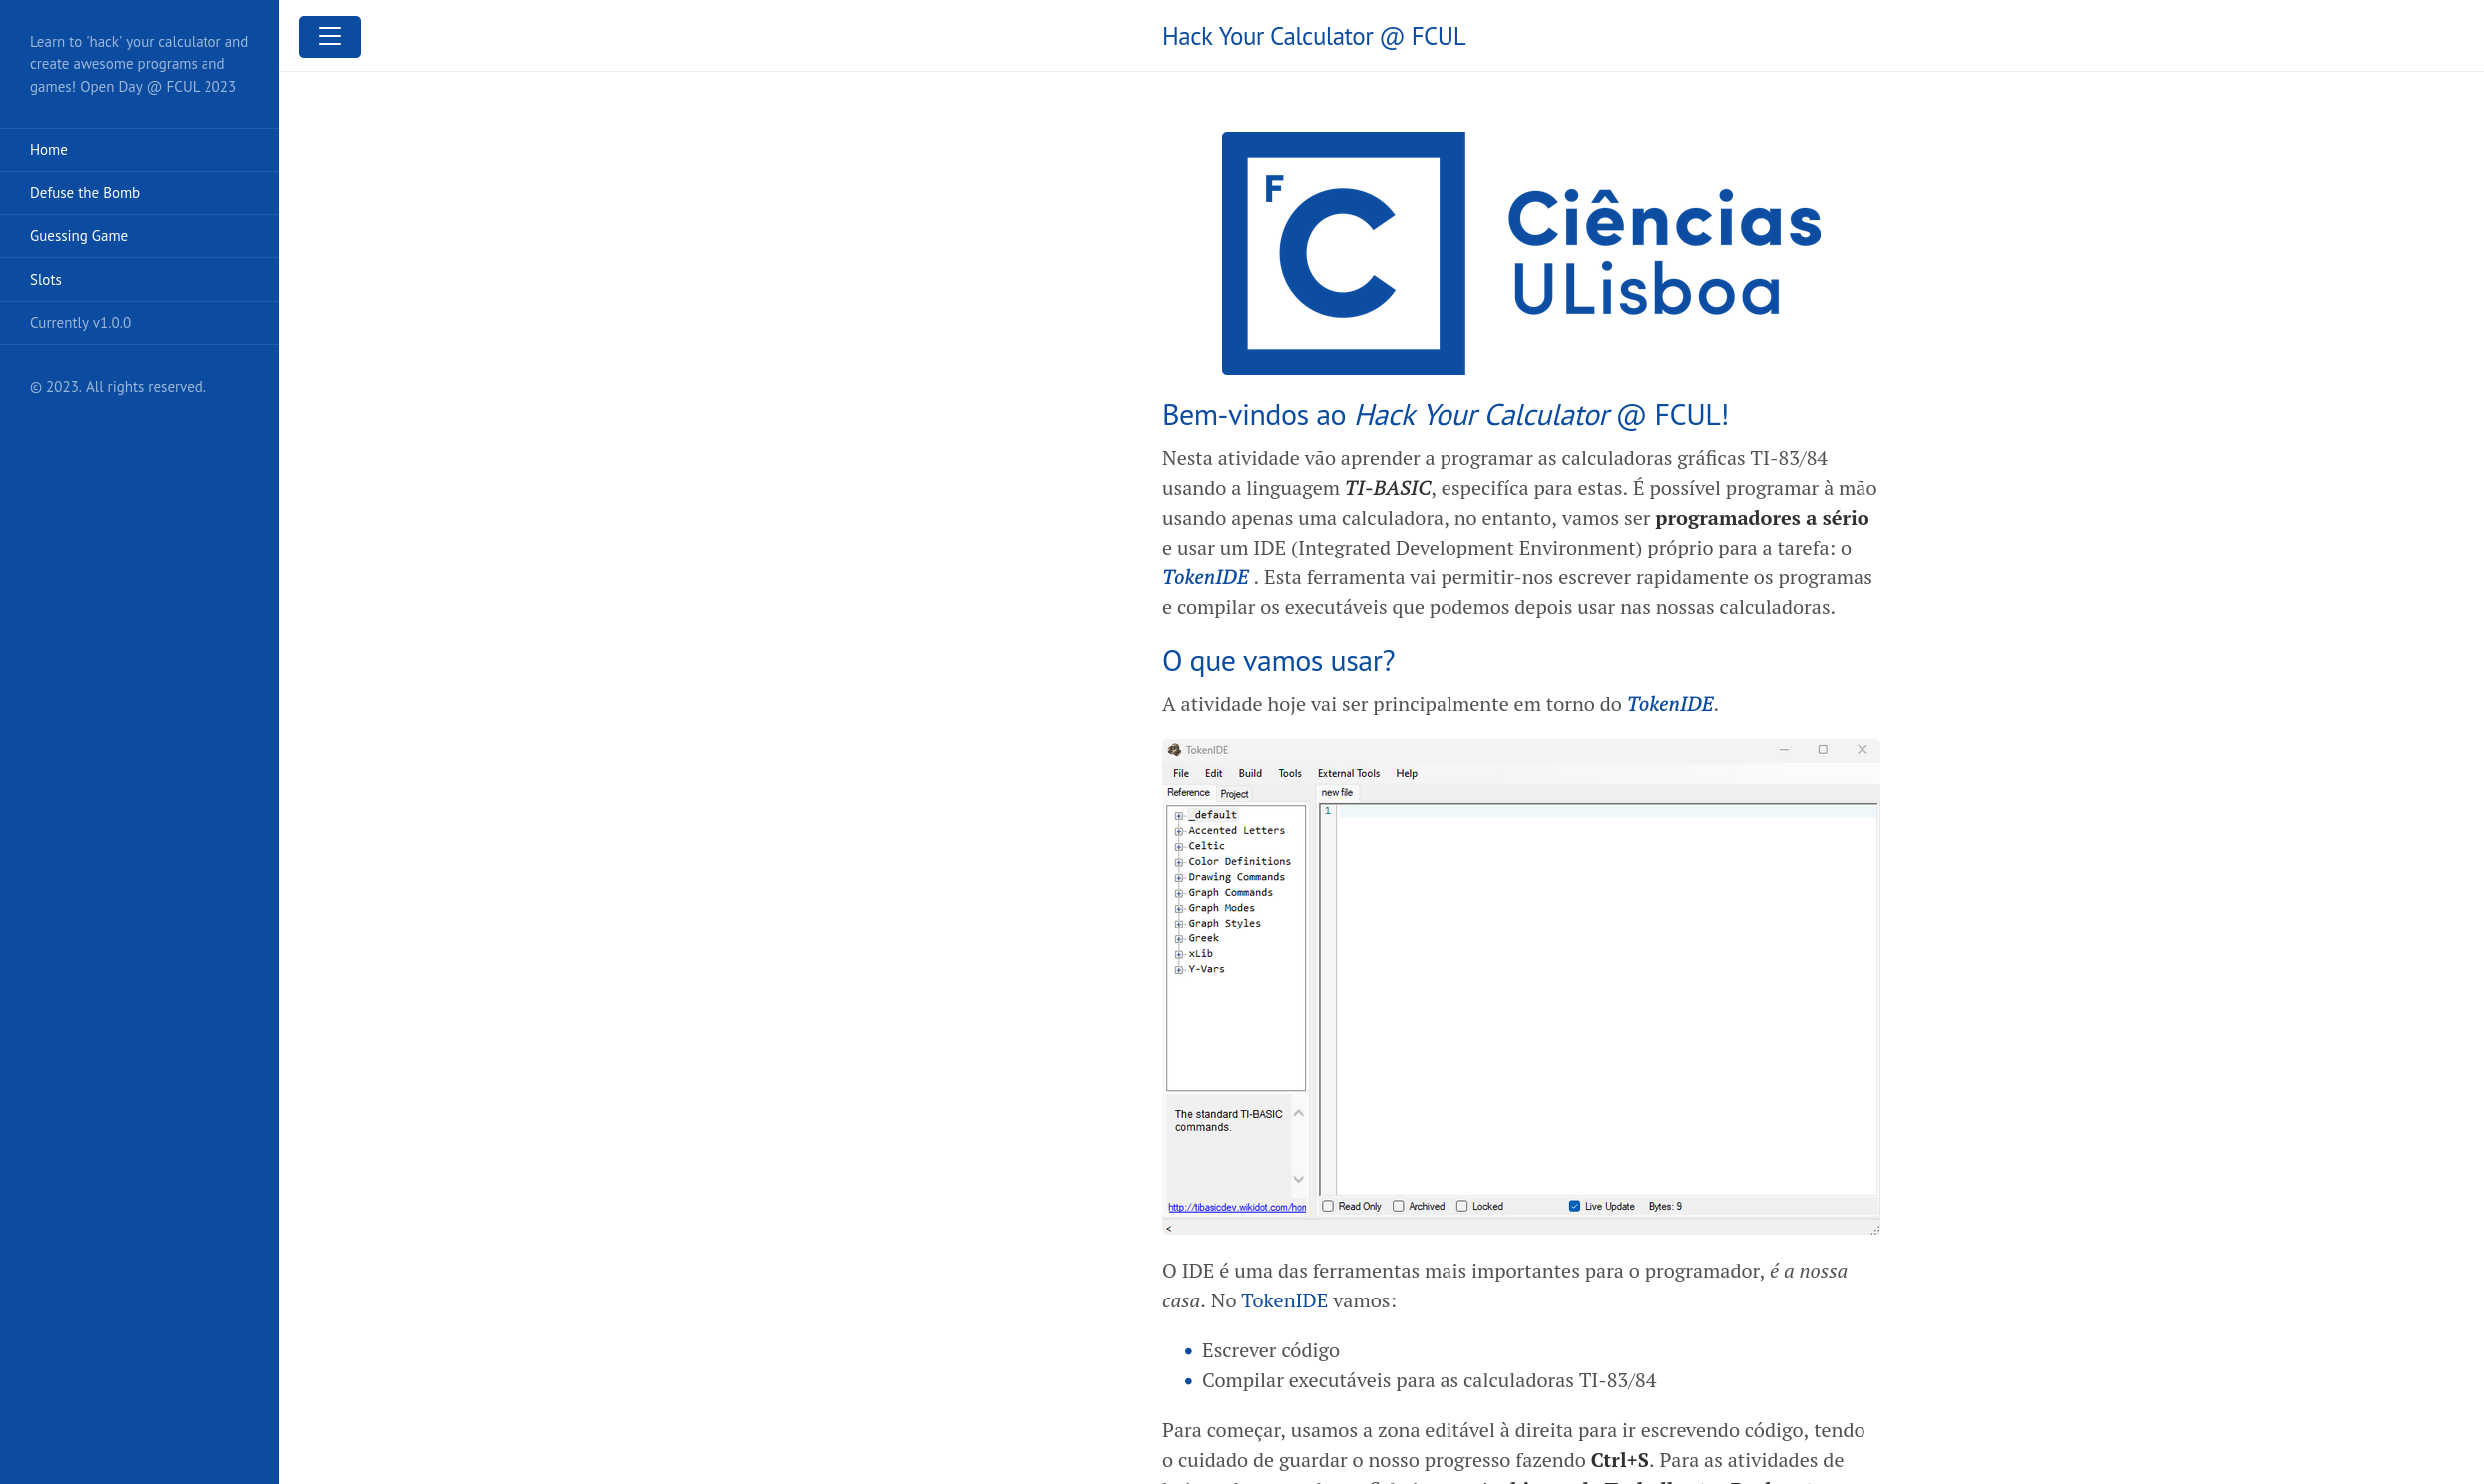
As a lazy programmer, any complex combo of web frameworks are completely out of question. This website is supposed to be a static display of information. Simpler than Jekyll and GitHub Pages is impossible! I quickly chose Lanyon as a theme and adapted with that gorgeous FCUL blue. Now, the website could be built through only the use of markdowns files and everything else is handled by GitHub Pages, more importantly the deployment.
This is not supposed to be a complex tutorial with 20 pages of information. There’s a home page with: information of what are the objectives, what tools we’ll use and what are the basics to use them. Finally there’s a page for each tutorial/program students can explore during the activity with these main points:
- short description
- overall game logic
- simplified code explanation
- download links for full code and executable files
- references to helpful information
There are 3 programs in total: Defuse the Bomb, Guessing Game and Slots. Each program has its difficulty, so students are advised to follow a given order.
Check it out yourself here!

